Cherry Garcia Ice Cream: A Nostalgic Summer Delight
Oh, the memories of summer days spent lounging on the porch, a gentle breeze in the air and a bowl of ice cream cradled in hand! There’s something magical about those sweet, creamy moments that immediately take you back to care-free childhood days. As I sit here writing this, I can almost hear the joyful laughter of my little ones as they race to finish the last scoop before it melts. Today, I want to share with you my homemade Cherry Garcia Ice Cream – a delightful blend of fresh cherries and rich dark chocolate that’s sure to bring warmth and joy into your kitchen. Perfect for hot summer afternoons or cozy gatherings, this recipe is one you’ll definitely want to pin for later!
Why You’ll Love This Recipe
- Quick and Easy: This Cherry Garcia Ice Cream comes together in no time, making it a fantastic treat for busy days.
- No Ice Cream Maker Needed: With simple steps, you can whip up a delicious no-churn version, perfect for those who want creamy comfort without specialized equipment.
- Crowd-Pleasing Flavor Combo: The sweet cherries and indulgent dark chocolate chunks create a nostalgic flavor harmony that everyone will adore.
- Customizable Goodness: You can easily swap in your favorite fruits or toppings, making this a versatile recipe for any occasion.
- Perfect for Family Gatherings: Whether it’s a summer barbecue or a cozy family dinner, this ice cream will surely steal the show and elicit smiles all around!
Ingredients You’ll Need for Cherry Garcia Ice Cream
Here’s what you’ll need to create this delightful dessert:
- 2 cups heavy cream
- 1 cup whole milk
- 3/4 cup granulated sugar
- 1 teaspoon vanilla extract
- 1 cup fresh cherries, pitted and chopped
- 1/2 cup dark chocolate chunks
Let’s Make It Together
Making your own Cherry Garcia Ice Cream is an enjoyable process! Follow these cozy, easy steps to create a creamy masterpiece that will warm your heart.
- In a mixing bowl, whisk together the heavy cream, whole milk, granulated sugar, and vanilla extract until the sugar is fully dissolved. Feel the comforting creaminess as you mix!
- Gently fold in the chopped fresh cherries, letting the sweet scent of summer fill your kitchen.
- Add in those luscious dark chocolate chunks, transforming your mixture into a beautiful array of colors and textures.
- If you have an ice cream maker, pour the mixture into the machine and churn according to the manufacturer’s instructions until it reaches a soft-serve consistency. If going the no-churn route, pour the mixture into a freezer-safe container.
- Cover and freeze for about 4-6 hours until it’s firm and scoopable, allowing the flavors to meld together beautifully.
- Serve and indulge in each blissful bite of your homemade Cherry Garcia Ice Cream!
Delicious Variations to Try
Want to add a twist to this creamy delight? Here are some fun ideas to customize your Cherry Garcia Ice Cream:
- Minty Freshness: Fold in a handful of chopped mint leaves with your cherries for a refreshing mint-cherry combination that tantalizes the senses.
- Zesty Citrus Burst: Incorporate some lime or lemon zest to brighten the flavors for a zesty, summer-inspired ice cream treat.
- Nutty Crunch: Add a handful of chopped nuts like walnuts or almonds for a delightful crunch that complements the creamy texture.
- Swirls of Fudge: Drizzle warm fudge sauce into your ice cream before freezing for a decadent, indulgent twist.
Chef Emma’s Helpful Tips
To ensure your Cherry Garcia Ice Cream turns out fabulous every time, keep these handy tips in mind:
- Make Ahead: This ice cream can be made a day or two ahead for parties or gatherings, letting you enjoy the event without the last-minute rush.
- Ingredient Swaps: Don’t have fresh cherries on hand? Frozen cherries work well in this recipe too! Just let them thaw before chopping to allow for easy mixing.
- Storage Solutions: Store your ice cream in an airtight container to maintain its creamy texture while in the freezer.
- Slicing Tips: When serving, use a warm ice cream scoop to effortlessly scoop out perfect rounds of ice cream!
What’s Inside – Nutrition Breakdown
Here’s a quick look at the nutrition information for each serving of Cherry Garcia Ice Cream. Enjoy it in moderation as part of a balanced diet!
- Serving Size: 1/2 cup
- Calories: 310
- Carbohydrates: 28g
- Sugar: 23g
- Fat: 20g
- Protein: 3g
- Sodium: 50mg
Frequently Asked Questions
Here are some common questions about making Cherry Garcia Ice Cream:
Can I make this ahead?
Absolutely! This ice cream can be made a day or two in advance. Just make sure to store it in an airtight container.
Can I use different ingredients?
Of course! This recipe is versatile—feel free to swap out cherries for your favorite fruit, like strawberries or blueberries.
How do I store leftovers?
Keep your leftover ice cream in an airtight container in the freezer. Properly stored, it should last for about 2-3 weeks.
How long does it last?
If stored correctly, your Cherry Garcia Ice Cream can last for up to 3 weeks in the freezer. But it’s so delicious, I doubt it will stick around that long!
Wrapping It Up
As summer rolls in and the afternoons stretch into golden evenings, there’s truly nothing better than a scoop of homemade Cherry Garcia Ice Cream. The combination of fresh, juicy cherries and rich dark chocolate reflects the love and warmth found in those cherished memories of simpler times. I invite you to gather your loved ones, create this comforting treat, and savor all the delicious moments it brings. Save this Cherry Garcia Ice Cream to your dessert board so it’s ready when you need a cozy treat!
Print
Cherry Garcia Ice Cream
- Total Time: 360 minutes
- Yield: 4 servings 1x
- Diet: Vegetarian
Description
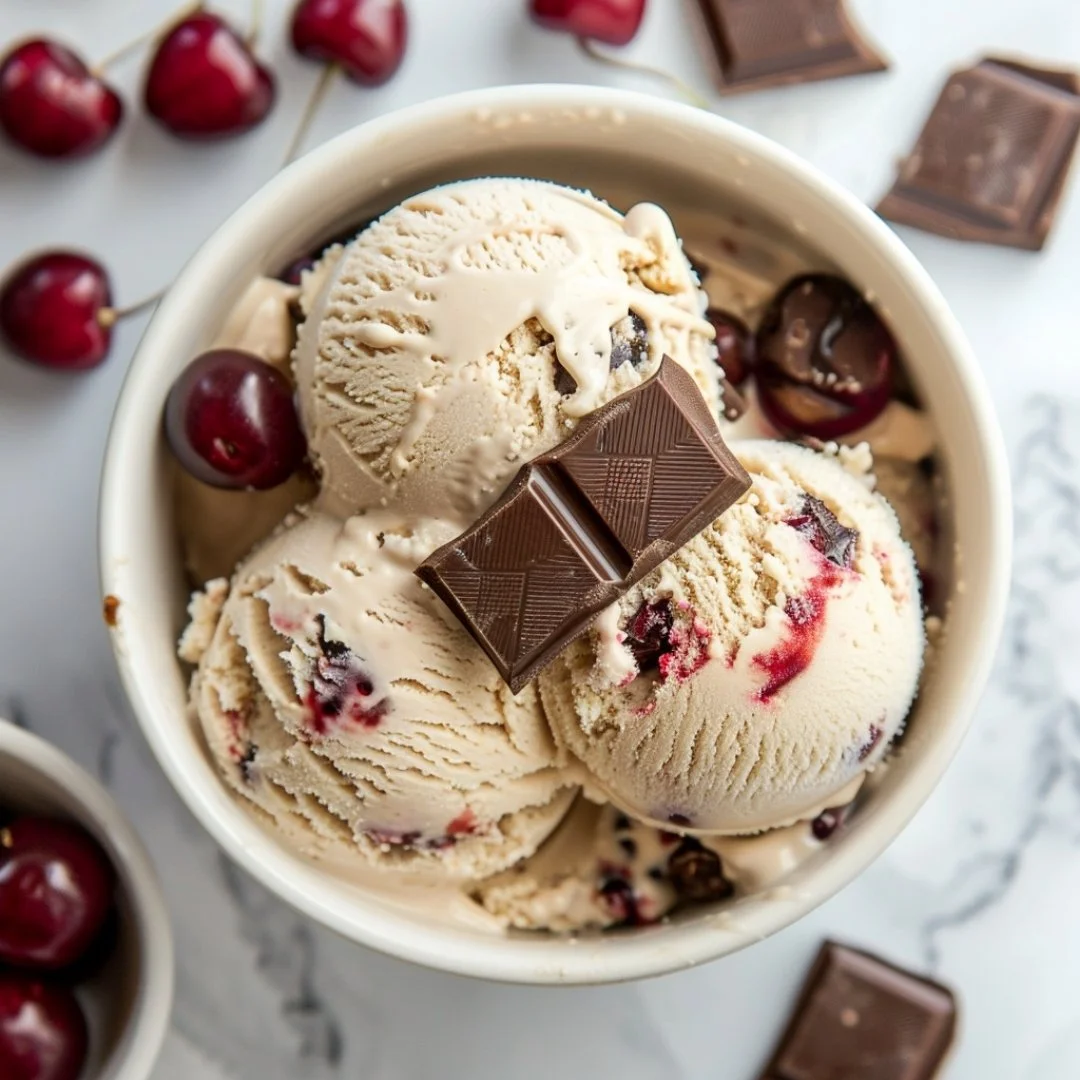
A delightful blend of fresh cherries and rich dark chocolate, reminiscent of childhood summer days.
Ingredients
- 2 cups heavy cream
- 1 cup whole milk
- 3/4 cup granulated sugar
- 1 teaspoon vanilla extract
- 1 cup fresh cherries, pitted and chopped
- 1/2 cup dark chocolate chunks
Instructions
- Whisk together the heavy cream, whole milk, granulated sugar, and vanilla extract until the sugar is fully dissolved.
- Fold in the chopped fresh cherries.
- Add the dark chocolate chunks and mix well.
- Pour the mixture into an ice cream maker and churn according to instructions or pour it into a freezer-safe container if no ice cream maker is available.
- Cover and freeze for about 240-360 minutes until firm.
- Serve and enjoy your homemade Cherry Garcia Ice Cream!
Notes
Can be made a day in advance and store in an airtight container. Use a warm scoop for easy serving.
- Prep Time: 15 minutes
- Cook Time: 0 minutes
- Category: Dessert
- Method: No Churn
- Cuisine: American
Nutrition
- Serving Size: 1/2 cup
- Calories: 310
- Sugar: 23g
- Sodium: 50mg
- Fat: 20g
- Saturated Fat: 12g
- Unsaturated Fat: 6g
- Trans Fat: 0g
- Carbohydrates: 28g
- Fiber: 1g
- Protein: 3g
- Cholesterol: 80mg
Keywords: ice cream, cherry, dessert, summer recipe, no churn