Red Velvet Brownies with Cream Cheese Swirl
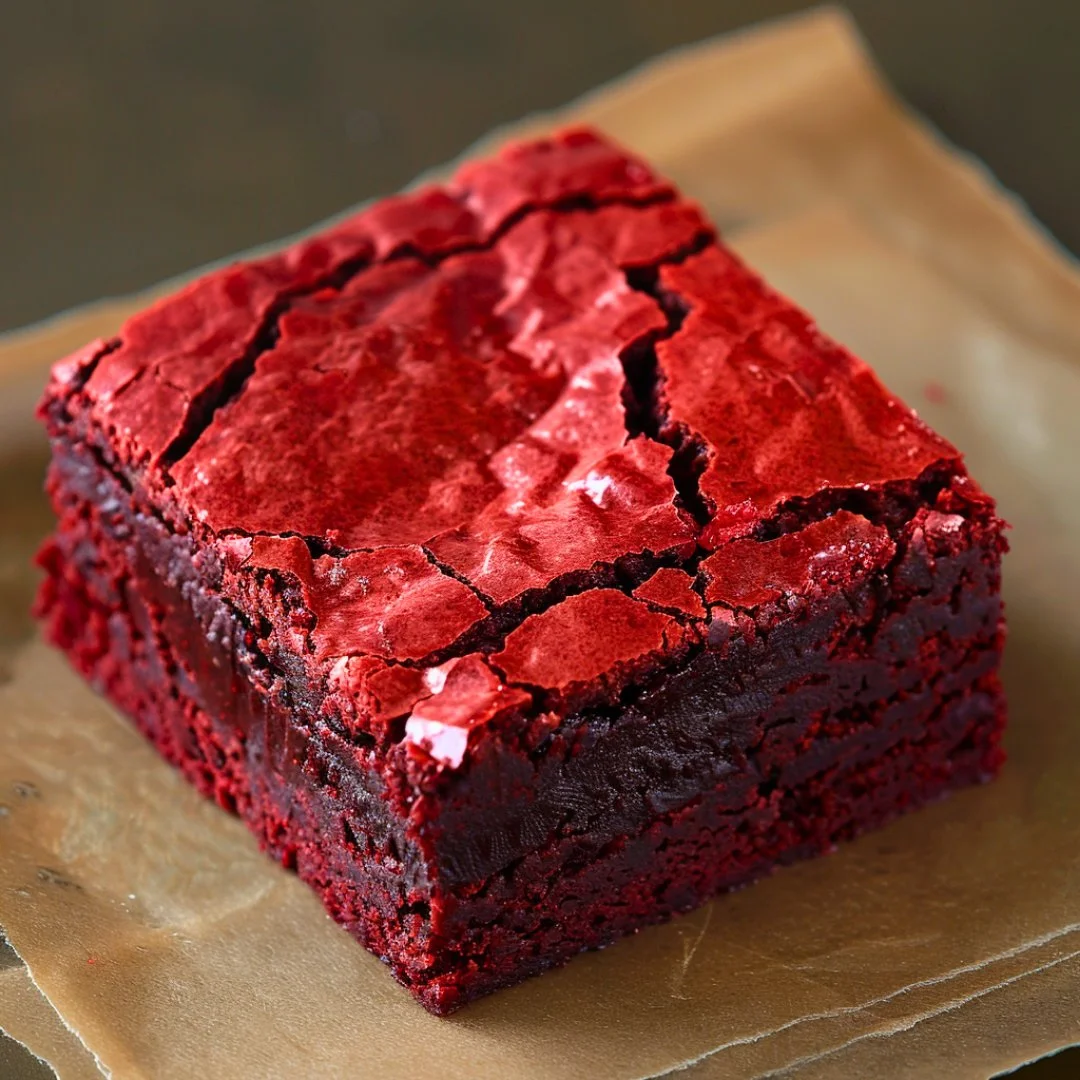
There’s something so decadent about a rich brownie, especially when it’s wrapped in the inviting crimson of red velvet. These Red Velvet Brownies have all the hallmarks of your favorite sweet treat — they’re dense, fudgy, and oh-so creamy with a smooth, dreamy cream cheese swirl. Every bite feels like a cozy hug on a chilly day, the kind of dessert that makes warm memories linger just a bit longer.
I remember the first time I tasted red velvet dessert; it was at a local café, and the moment I took a bite, I was transported. The silky cream cheese paired with that slight hint of cocoa created a perfect balance that has always felt special to me. That’s why I’m so excited to share this recipe with you! It’s the perfect addition to your easy weeknight dessert repertoire. Trust me, this is one you’ll definitely want to pin for later!
Why You’ll Love This Recipe
- Rich and Fudgy: These brownies have that melt-in-your-mouth texture that everyone craves in a chocolate treat.
- Creamy Cream Cheese Swirl: The tangy cream cheese combines beautifully with the sweet brownie layer, elevating this dessert to the next level.
- Quick to Make: Ready to indulge in just about 30 minutes, making these perfect for a last-minute sweet craving!
- Crowd-Pleasing: Whether for a birthday or a cozy family gathering, these brownies are sure to impress everyone at the table.
- Fun and Festive: Their vibrant red color makes them a beautiful offering for Holiday gatherings or any special occasion.
Ingredients You’ll Need for Red Velvet Brownies
Brownie Layer
- 1 cup (225 g) unsalted butter, melted
- 1½ cups (300 g) granulated sugar
- 2 large eggs
- 1 tsp vanilla extract
- 1 tbsp cocoa powder
- 1½ cups (190 g) all-purpose flour
- ½ tsp baking powder
- ¼ tsp salt
- 2–3 tbsp red food coloring
Cream Cheese Swirl
- 8 oz (225 g) cream cheese, softened
- ¼ cup (50 g) granulated sugar
- 1 tsp vanilla extract
- 1 egg
Let’s Make It Together
Preheat Your Oven: Start by preheating your oven to 350°F (175°C). Grease or line an 8×8-inch baking pan with parchment paper for easy removal later.
Make the Brownie Batter: In a large bowl, whisk together the melted butter and granulated sugar until smooth and glossy. Next, add the eggs, vanilla extract, cocoa powder, and red food coloring. Mix well until everything is fully blended.
Combine the Dry Ingredients: Stir in the flour, baking powder, and salt until just combined. Be careful not to overmix — you want these brownies to stay tender!
Prepare the Cream Cheese Layer: In a separate bowl, beat together the cream cheese, granulated sugar, vanilla extract, and egg until the mixture is creamy and smooth.
Assemble the Brownies: Pour half of the brownie mixture into your prepared pan, spreading it evenly. Then, drop spoonfuls of half the cream cheese mixture on top. Swirl lightly with a knife for a beautiful marbled effect. Pour over the remaining brownie batter, followed by the rest of the cream cheese mixture. Swirl again gently.
Bake: Pop the pan into your preheated oven and bake for 25-30 minutes. You’ll know they’re done when a toothpick inserted in the center comes out with only a few moist crumbs clinging to it.
Cool & Serve: Allow the brownies to cool completely in the pan before cutting them into squares. For an extra treat, you could dust them with powdered sugar or drizzle a bit of chocolate on top!
Delicious Variations to Try
- Chocolate Chip Swirl: Add a handful of mini chocolate chips to the brownie batter before baking for an extra chocolatey treat.
- Nutty Delight: Fold in some chopped walnuts or pecans for a delightful crunch that pairs perfectly with the smooth texture of the brownies.
- Zesty Cream: Add a touch of lemon zest to the cream cheese mixture for a refreshing twist that brightens up the rich flavors.
- Mint Chocolate: Mix in some peppermint extract to the brownie batter for a minty delight that’s perfect for the holidays!
Chef Emma’s Helpful Tips
- Make-Ahead: You can prepare the brownie batter and cream cheese mixture a day in advance. Just store them in the fridge and assemble right before baking!
- Slicing Tricks: For clean cuts, run your knife under hot water, wipe the blade, and slice through the brownies with a smooth motion.
- Storage Suggestions: Keep any leftovers in an airtight container at room temperature for up to 3 days or in the fridge for up to a week.
- Ingredient Swaps: If you’re out of vanilla extract, a dash of almond extract can give a lovely twist to both the brownie and cream cheese layers.
What’s Inside – Nutrition Breakdown
- Serving Size: 1 brownie (based on 16 servings)
- Calories: 280
- Carbohydrates: 35g
- Sugars: 25g
- Fat: 14g
- Protein: 3g
- Sodium: 150mg
Frequently Asked Questions
Can I make this ahead?
Absolutely! You can prepare the components ahead of time and bake just before you need them.
Can I use different ingredients?
Feel free to substitute gluten-free flour for the all-purpose flour if you’re catering to dietary needs.
How do I store leftovers?
Keep any leftovers in an airtight container at room temperature for up to 3 days or in the fridge for up to one week.
How long does it last?
These Red Velvet Brownies are best enjoyed within a week, but they may last longer if stored properly in the fridge.
A Cozy Closing Note
There’s a special comfort in a batch of homemade brownies. With their vibrant red color and creamy swirl, these Red Velvet Brownies are sure to become a comforting favorite in your home. The best part? They’re perfect for sharing with loved ones at your next gathering or cozy night in.
Save this Red Velvet Brownies recipe to your dessert ideas board so it’s ready when you need a cozy treat! Enjoy every delicious bite!
Print
Red Velvet Brownies with Cream Cheese Swirl
- Total Time: 45 minutes
- Yield: 16 servings 1x
- Diet: Vegetarian
Description
Decadent red velvet brownies with a creamy cream cheese swirl, perfect for any gathering.
Ingredients
- 1 cup (225 g) unsalted butter, melted
- 1½ cups (300 g) granulated sugar
- 2 large eggs
- 1 tsp vanilla extract
- 1 tbsp cocoa powder
- 1½ cups (190 g) all-purpose flour
- ½ tsp baking powder
- ¼ tsp salt
- 2–3 tbsp red food coloring
- 8 oz (225 g) cream cheese, softened
- ¼ cup (50 g) granulated sugar
- 1 tsp vanilla extract
- 1 egg
Instructions
- Preheat your oven to 350°F (175°C). Grease or line an 8×8-inch baking pan with parchment paper.
- In a large bowl, whisk together the melted butter and granulated sugar until smooth. Add eggs, vanilla extract, cocoa powder, and red food coloring. Mix until fully blended.
- Stir in the flour, baking powder, and salt until just combined.
- In a separate bowl, beat together the cream cheese, granulated sugar, vanilla extract, and egg until smooth.
- Pour half of the brownie mixture into the prepared pan. Drop spoonfuls of the cream cheese mixture on top and swirl lightly. Add the remaining brownie batter and repeat the process.
- Bake for 25-30 minutes, or until a toothpick inserted comes out with moist crumbs.
- Cool completely in the pan before cutting into squares.
Notes
For a cleaner cut, run your knife under hot water before slicing. Store leftovers in an airtight container for up to 3 days at room temperature or up to a week in the fridge.
- Prep Time: 15 minutes
- Cook Time: 30 minutes
- Category: Dessert
- Method: Baking
- Cuisine: American
Nutrition
- Serving Size: 1 brownie
- Calories: 280
- Sugar: 25g
- Sodium: 150mg
- Fat: 14g
- Saturated Fat: 8g
- Unsaturated Fat: 6g
- Trans Fat: 0g
- Carbohydrates: 35g
- Fiber: 1g
- Protein: 3g
- Cholesterol: 70mg
Keywords: red velvet, brownies, dessert, cream cheese, holiday treats